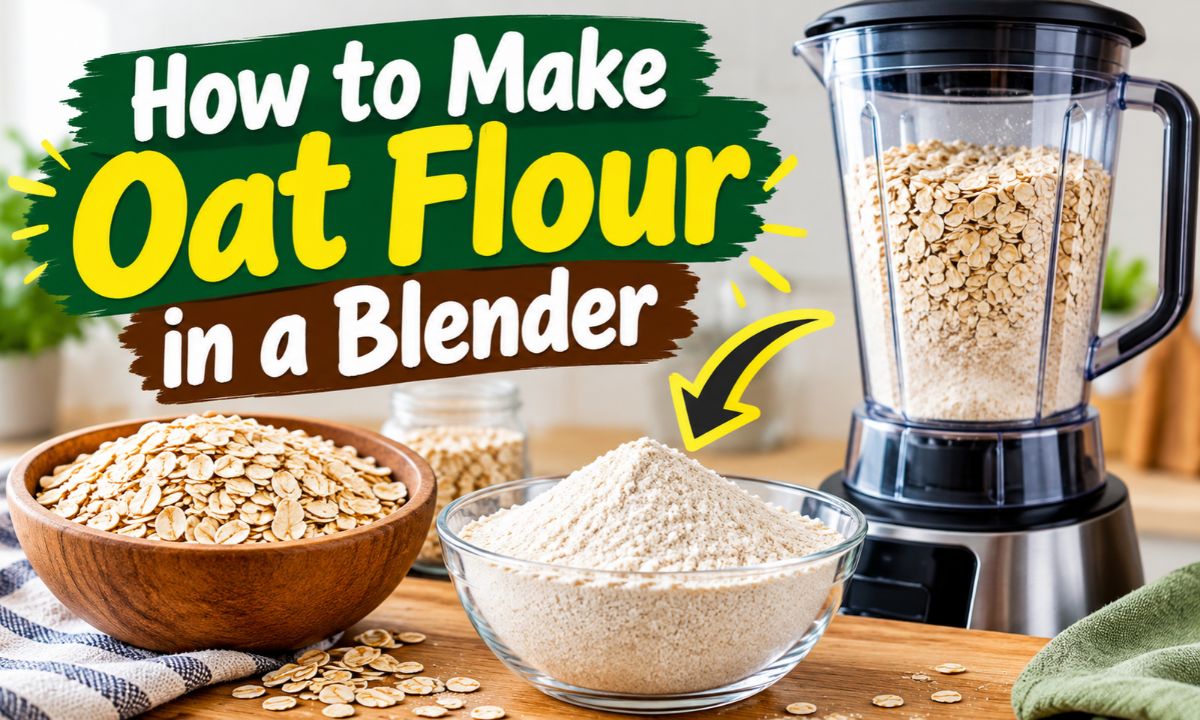
To make oat flour in a blender, blend dry rolled oats until they become a fine powder, then sift if needed.
Making oat flour at home is an easy way to prepare a useful baking ingredient without buying another bag of flour at the grocery store. In American kitchens, it can come in handy for pancakes, muffins, quick breads, cookies, and other homemade treats. All you need are plain oats, a clean and dry blender, and a few minutes.
The key is to use dry oats, blend them in a batch your machine can handle, and stop when the flour looks fine enough for your recipe. A regular countertop blender may work well, although the texture can vary by model and batch size. Homemade oat flour is simple to make, but it does not behave exactly like wheat flour in every recipe.
Oat flour is simply oats ground into a fine powder. It is a whole-grain flour when made from whole-grain oats, and it has a mild, slightly sweet taste. You can use it in many recipes that call for flour, provided you account for its different baking properties.
Unlike wheat flour, oat flour does not form a gluten network. Gluten is a group of proteins that helps many wheat-based doughs stretch and hold their shape. Oats do not provide that same structure, so recipes may need eggs, other binders, or a mix of flours to produce the expected result.
Store-bought oat flour and homemade oat flour have the same basic ingredient when both are made from plain oats. The main difference is often the grind. A commercial product may have a more even texture, while a home blender can leave a mix of fine flour and small oat particles.
Source: nutriciously.com
Mild flavor
Oat flour has a gentle oat taste that works well in pancakes, muffins, cookies, and quick breads.
Fine or coarse texture
The final texture depends on the blender, the amount of oats, and how long you grind them.
No wheat gluten
Oat flour does not contain the gluten proteins found in wheat, but cross-contact during processing can matter for people who must avoid gluten.
Is Homemade Oat Flour the Same as Ground Oats?
Yes. Homemade oat flour is made by grinding whole oats into smaller particles. There is no need to add water, oil, or another ingredient. The goal is to make the particles small enough to work well in your recipe.
Coarsely ground oats may work in hearty pancakes or some muffins, but fine oat flour is usually better when you want an even crumb. If your blender leaves larger flakes, sift the flour and grind the pieces that remain in the sieve.
What You Need to Make Oat Flour
You only need plain oats and a blender to make basic oat flour. A sieve, a dry bowl, and an airtight storage container are useful extras. Check that the blender jar is clean, dry, and suitable for grinding dry ingredients before you begin.
A high-speed blender may produce a fine texture quickly, but you do not need to assume that a special machine is required. Many standard countertop blenders can grind oats. If your blender struggles with small amounts, use a larger batch within its stated capacity or follow the manufacturer’s instructions for dry ingredients.
Source: www.pinterest.com
Plain rolled oats
These are a practical choice for general use because they are easy to measure and blend. Use unflavored oats without added sugar or seasoning.
A dry blender
Moisture can make ground oats clump. Dry the jar and blade assembly as directed by the manufacturer before use.
A sieve or fine-mesh strainer
This helps separate larger particles from flour that is already fine.
A spoon and storage container
Use them to transfer the flour without spilling and keep it protected from moisture.
Which Oats Work Best?
Rolled oats are a dependable starting point for homemade oat flour. Quick oats also work because they are cut and processed to cook faster, but their texture and shape may differ from rolled oats. Both can be ground into flour.
Steel-cut oats can also be ground, but they are harder and denser pieces. They may take longer to break down and can put more strain on a blender that is not designed for dry grinding. Check the appliance manual before using them.
Avoid flavored instant oatmeal packets. They may contain sugar, salt, flavorings, or other ingredients that change the taste and composition of your flour.
Best general option
Plain rolled oats offer a simple, widely available choice for pancakes, muffins, and many everyday baking recipes.
Convenient alternative
Plain quick oats can be used when that is what you have in the pantry.
Use extra care
Steel-cut oats may need a blender that is approved for grinding hard, dry ingredients.
How to Make Oat Flour in a Blender Step by Step
The basic process is simple: measure the oats, add them to the blender, grind until fine, and check the texture. Keep the blender dry and work within the limits stated in its manual. These steps help you get an even result without overloading the motor.
Source: meaningfuleats.com
Step 1: Measure the Oats
Start with the amount your recipe needs, or make a small batch for future use. One cup of rolled oats is a convenient starting amount for many home blenders, but the right batch size depends on the jar shape and the appliance instructions.
Oats and oat flour do not have the same volume. Grinding changes how the particles settle in a measuring cup, so do not assume that one cup of oats will produce exactly one cup of flour. If your recipe specifies a weight, use a kitchen scale to measure the finished flour.
For a small recipe
Begin with a modest amount of oats that allows the blades to move the ingredients effectively.
For meal preparation
Make a larger batch only if the blender can process it without exceeding its capacity.
Step 2: Add the Oats to the Blender
Pour the dry oats into the blender jar. Make sure the lid is secure before turning on the machine. Do not add water, milk, or oil because oat flour should be dry and powdery.
If the oats sit above the blade without moving, stop the blender before adjusting the batch. Follow the manufacturer’s instructions for moving ingredients or using a tamper. Never put a spoon, spatula, or hand into a running blender.
Step 3: Blend Until the Oats Become Fine
Start with a short pulse to break up the oats. Then blend continuously at a suitable speed until the pieces become a powder. The exact time depends on your blender, the batch size, and the type of oats.
Avoid relying on a fixed number of seconds as a guarantee. Instead, stop the machine when the flour looks evenly ground. If the blender becomes unusually hot, smells burnt, or makes an abnormal sound, turn it off and follow the manufacturer’s troubleshooting guidance before continuing.
Watch the texture
The oats should look like a soft powder rather than a mix of flour and large flakes.
Use short pauses if needed
Pausing can help prevent unnecessary heat buildup during longer grinding sessions.
Do not force the machine
If the blades cannot move the oats, stop and adjust the batch size according to the manual.
Step 4: Check the Flour
Turn off the blender and wait for the moving parts to stop before opening the lid. Check whether the flour is fine enough for your intended recipe. A little texture is normal, but large pieces may lead to uneven results in delicate baked goods.
For a smoother result, pour the flour through a fine-mesh sieve into a dry bowl. Return any larger pieces to the blender and grind them again. Repeat until the flour reaches the texture you need.
For pancakes and muffins
A fine, even powder is useful, although a slightly coarse texture may still work in recipes designed for oats.
For delicate cakes
Sift the flour to remove larger particles, and use a recipe developed for oat flour or a suitable flour blend.
Step 5: Measure or Store the Finished Flour
Once the flour is ready, measure the amount required by your recipe. If the recipe lists grams or ounces, weighing the flour is more reliable than measuring by volume because the way flour settles can change the amount in a cup.
If you are not using the flour right away, let the blender jar and flour remain free from moisture. Transfer the flour to a clean, dry, airtight container. Label the container with the preparation date so you can keep track of its age.
How Much Oat Flour Do Oats Make?
The amount of flour you get depends on the quantity of oats, how finely you grind them, and how they settle in your measuring cup. Grinding does not remove the oats’ main ingredients, but it changes their size and packing. For that reason, the volume of the finished flour may differ from the volume of the whole oats.
For example, if a recipe needs 120 grams of oat flour, the simplest approach is to grind enough oats and weigh the flour until you reach 120 grams. This is a hypothetical measurement example, not a claim that a particular volume of oats always yields that amount.
Source: meaningfuleats.com
When a recipe gives a weight
Weigh the ground flour and add more as needed until you reach the stated amount.
When a recipe gives cups
Follow the recipe’s measuring method and measure the flour after grinding unless the recipe says otherwise.
When making extra
Prepare only as much as you can store well and use while it remains fresh.
Can You Use a One-to-One Swap for Wheat Flour?
Not in every recipe. Oat flour absorbs liquid differently from wheat flour and does not provide the same gluten structure. Replacing all the wheat flour with oat flour can make some baked goods more fragile, dense, or crumbly.
For the best result, start with a recipe designed for oat flour. In a recipe that uses wheat flour, replacing only part of it may be more successful than replacing all of it. The right amount depends on the other ingredients and the structure the recipe needs.
How to Get Fine, Smooth Oat Flour
Fine oat flour comes from a suitable batch size, dry ingredients, and enough grinding to break down the larger pieces. If the first batch is not smooth, you usually do not need to start over. Check the texture and adjust the process.
Source: beetofthewild.com
Use a dry jar
Water can make oat particles stick together, so check the jar and lid for moisture before grinding.
Avoid overfilling
Too many oats can limit movement around the blades. Process a smaller batch if the mixture is not circulating.
Blend in stages
Use pulses to break up large flakes, then blend until the powder looks even.
Sift when needed
A fine-mesh sieve catches larger particles that may affect the texture of delicate baked goods.
Why Is My Oat Flour Still Coarse?
Coarse flour can result from a weak or unsuitable blender, a batch that is too large, or grinding that stops too soon. The shape of the jar can also affect how easily the oats reach the blades.
Turn off the blender before inspecting the flour. If the batch is too large, remove some of it and grind the rest in smaller portions. If the flour is nearly fine, sift it and return the larger pieces to the blender.
Can You Make Oat Flour Without a High-Speed Blender?
Yes, a regular blender may work if its instructions permit dry grinding. You may need to use smaller batches and take more time to reach a fine texture. Results will vary with the motor, blade design, and jar shape.
If the blender struggles, do not keep running it in an attempt to force a result. Check the manual, reduce the batch if allowed, and let the machine cool as directed. A food processor or a grinder designed for dry grains may be another option if you have one.
Best Ways to Use Homemade Oat Flour
Homemade oat flour works well in many foods that benefit from a mild flavor and a soft texture. It is especially handy for recipes that already use oats or that are designed for gluten-free flour. Start with recipes that name oat flour as an ingredient rather than changing every flour measurement in a favorite recipe.
Oat flour can absorb liquid and thicken a batter as it rests. If a recipe calls for a short resting period, follow it before judging whether the batter is too thick. Avoid adding extra liquid right away unless the recipe’s instructions allow adjustments.
Source: www.youtube.com
Pancakes
Oat flour can make tender pancakes. Use a recipe with enough binding ingredients to help the pancakes hold together when flipped.
Muffins
It works in oat-based muffins and can add a soft crumb and mild grain flavor.
Cookies
Some cookies work well with oat flour alone, while others need wheat flour or a blend for structure.
Quick breads
Banana bread and similar quick breads may use oat flour when the recipe is formulated for it.
Smoothies
A small amount can thicken a smoothie, but add it gradually to avoid an overly thick texture.
Crumble toppings
Oat flour can be combined with oats, fat, and sugar to form a topping for baked fruit.
Does Oat Flour Work for Gluten-Free Baking?
Oat flour can be part of gluten-free baking, but the oats themselves need attention if you must avoid gluten. Oats may be exposed to wheat, barley, or rye during growing, transport, or processing. Choose oats specifically labeled gluten-free when that matters to you.
Gluten-free oat flour still does not behave like wheat flour. Some recipes combine it with other gluten-free flours and binders to improve the texture. Follow a recipe developed for the ingredients you use, especially when baking bread or cakes that need to rise and hold their shape.
How to Store Homemade Oat Flour
Store oat flour in an airtight container away from heat, moisture, and strong odors. Ground oats have more exposed surface area than whole oats, so the flour can pick up moisture and odors more easily. Clean, dry storage helps protect its quality.
For a small batch you expect to use soon, a cool, dry pantry may be suitable. If you make a larger amount or want to keep it longer, refrigeration or freezing can help preserve quality. Storage time depends on the freshness of the oats, the container, temperature, and moisture exposure, so avoid treating any single time limit as a guarantee.
When freezing oat flour, use a freezer-safe airtight container or bag and remove excess air where practical. Let a sealed container come closer to room temperature before opening it if condensation is a concern. This helps keep moisture from forming directly on the flour.
Source: thebewitchinkitchen.com
Use a clean container
Make sure the container and lid are dry before adding the flour.
Label the batch
Write the preparation date on the container so you can use older flour first.
Check before use
Discard flour with visible mold, unusual damp clumps, an off smell, or other signs of spoilage.
Keep moisture out
Use a dry spoon and close the container after each use.
Can You Make Oat Flour Ahead of Time?
Yes. You can grind enough flour for several recipes and store it for later. Making a small batch first is useful if you are unsure how quickly your household will use it or how well your storage container protects it.
For the best quality, make sure the oats are fresh before grinding and keep the finished flour dry. If you notice a stale or rancid odor, do not use it in food.
Common Mistakes and How to Fix Them
Most problems with homemade oat flour come from moisture, uneven grinding, or using the flour in a recipe that needs a different structure. The fix depends on what you notice, so check the flour before changing the recipe.
Source: savaskitchen.com
The flour has large flakes
Blend the larger pieces again in a suitable batch size, then sift if you need a finer result.
The flour forms damp clumps
Check whether the oats, blender jar, or storage container were damp. Do not assume that clumping flour is safe to use; discard it if there are signs of spoilage.
The blender struggles
Stop the machine, consult the manual, and reduce the batch if the appliance permits. Do not force the motor to keep running.
The baked goods crumble
The recipe may lack enough structure for oat flour. Use a recipe designed for oat flour or try a suitable flour blend.
The batter seems too thick
Allow the batter to rest if the recipe calls for it, since oat flour can absorb liquid. Adjust only as the recipe permits.
The finished flour smells stale
Do not try to cover the odor with spices or sugar. Discard flour that smells rancid or otherwise spoiled.
Is It Safe to Blend Oats in a Blender?
Grinding dry oats is a common kitchen task, but not every blender is designed for every dry ingredient. Check the instructions for your model before using it, especially if the manual limits dry grinding or requires a particular jar or accessory.
Keep the lid in place during blending and switch the machine off before opening it or touching the contents. Do not reach toward the blades, even when they appear to have stopped. If the motor overheats or produces a burning smell, stop using it and follow the manufacturer’s safety guidance.
Frequently Asked Questions
Q
Can I make oat flour with a regular blender?
Yes, many regular countertop blenders can grind plain oats into flour. Check your model’s instructions to confirm that it supports dry grinding. Smaller batches and a few pulses before continuous blending may help, but the final texture depends on the machine.
Q
Do I need to wash oats before blending them?
No, plain packaged oats are generally ready to use and do not need washing before grinding. Adding water can make the oats clump and can introduce moisture into the flour. Follow the package instructions if they specify a different preparation method.
Q
How long does it take to make oat flour?
It often takes only a short blending session, but there is no single time that works for every blender. Start with pulses and check the texture as you go. Stop when the oats form a fine powder, and let the machine cool if its instructions call for breaks.
Q
Can I use instant oats to make oat flour?
Plain instant oats can be ground into flour. Check the ingredient list because flavored packets may contain sugar, salt, flavorings, or other ingredients. Plain rolled oats are a simple choice for general baking.
Q
Is oat flour healthier than all-purpose flour?
Neither flour is automatically the better choice for every person or recipe. Oat flour made from whole-grain oats provides the nutrients naturally present in oats, including fiber. Enriched all-purpose flour provides different nutrients, and the overall nutritional value of a meal depends on the full recipe and serving.
Q
Can I replace all-purpose flour with oat flour in any recipe?
No. Oat flour does not form the same gluten structure as wheat flour and can change how baked goods rise, hold together, and absorb liquid. Use a recipe designed for oat flour when possible, or replace only part of the wheat flour if the recipe supports that change.
Q
How do I know if homemade oat flour has gone bad?
Check for an unusual or rancid smell, visible mold, damp clumps, or other changes that suggest spoilage. Discard the flour if you see or smell signs that it has gone bad. Keep future batches in a clean, airtight container and protect them from heat and moisture.
✦ Wrapping Up
Conclusion
Making oat flour in a blender is a simple way to turn plain oats into a useful ingredient for home cooking and baking. Add dry oats to a suitable blender, grind them until fine, and sift out any large pieces if needed. The process takes little preparation and lets you make only as much flour as you need.
For the best results, use a recipe that accounts for oat flour’s texture and lack of gluten. Measure the finished flour carefully, keep it dry during storage, and follow your blender’s instructions for grinding dry ingredients. These small steps help you get a more consistent result from batch to batch.
💡 Key Takeaway
Start with one small batch of plain rolled oats, blend until fine, sift if needed, and weigh the finished flour if your recipe lists grams or ounces.