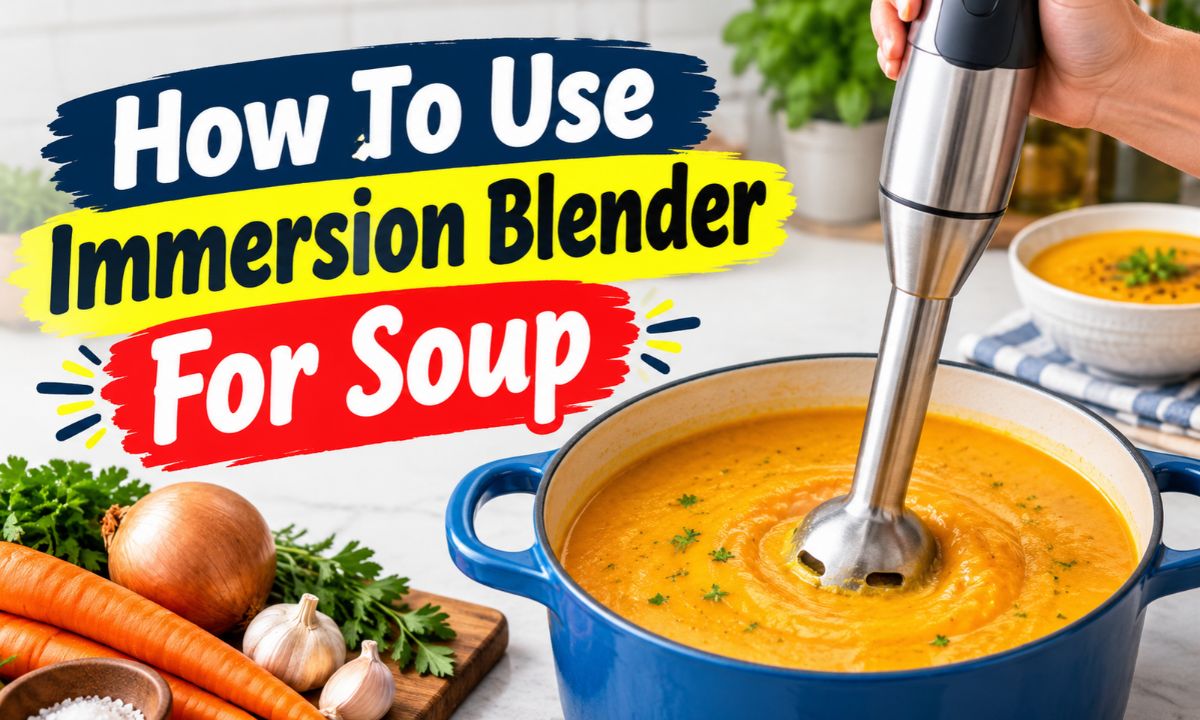
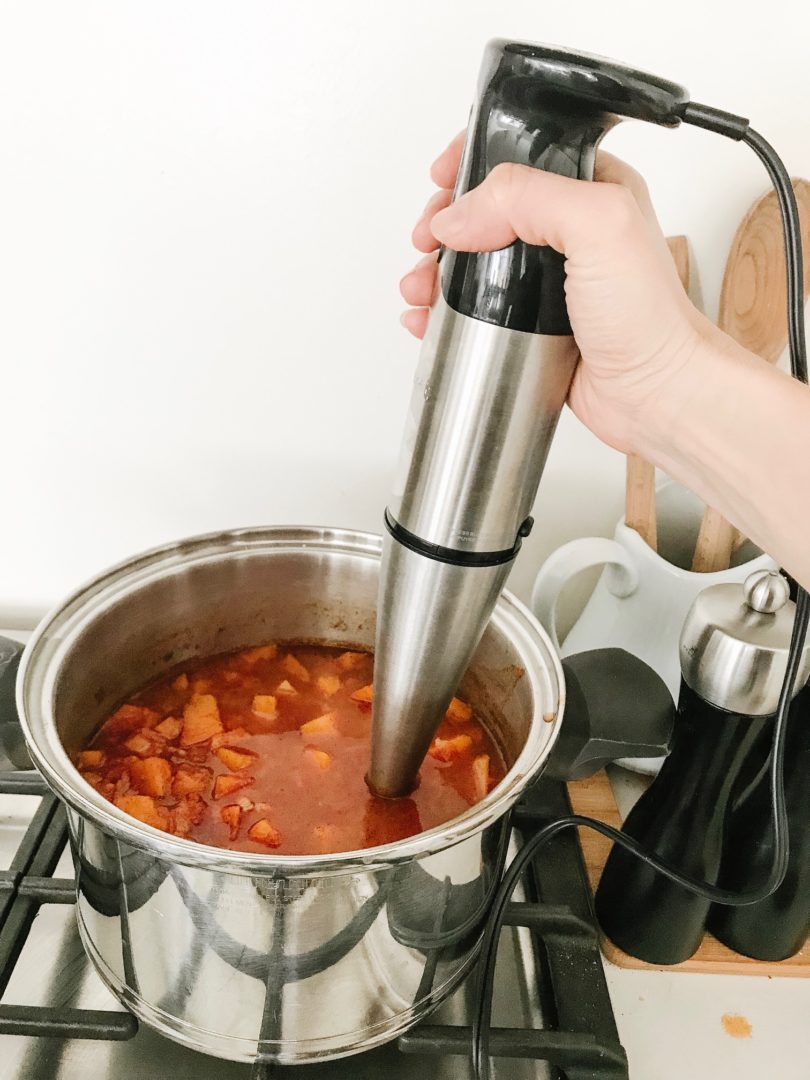
Use an immersion blender by placing the blade end into cooked soup, blending in short pulses, and moving slowly until the texture is smooth.
Across kitchens in the United States, immersion blenders are a popular tool for making creamy soups without transferring hot food into a countertop blender. The main benefit is simple: you can blend the soup directly in the cooking pot, which saves time and reduces cleanup.
Using an immersion blender for soup requires a few basic steps. The soup should be cooked until ingredients are soft, the blade should stay below the liquid surface, and the blender should move gently through the pot. These habits help create an even texture while reducing splashes and uneven blending.
What Is An Immersion Blender And Why Use It For Soup
An immersion blender is a handheld kitchen appliance with a motor on one end and a small rotating blade assembly on the other. Unlike a countertop blender, it is designed to go directly into a container of food. For soup, this means you can blend ingredients while they remain inside the cooking pot.
The main reason people use an immersion blender for soup is convenience. A countertop blender may require several batches, careful transfers, and extra dishes. An immersion blender can handle the entire pot in one place, especially when making vegetable soups, tomato soup, lentil soup, or creamy sauces.
The blender mixes ingredients inside the pot instead of requiring a separate blending container.
Texture control
You can stop at a chunky texture or continue blending for a smoother soup.
Less cleanup
Fewer containers usually means fewer dishes after cooking.
When An Immersion Blender Works Best
Immersion blenders are most useful for soups where cooked ingredients need to be broken down into a puree. Soft vegetables such as potatoes, carrots, squash, and cooked tomatoes usually blend well because their structure has already softened during cooking.
Good uses
Cream soups, vegetable purees, sauces, and blended bean soups are common uses.
How To Use An Immersion Blender For Soup Step By Step
The basic method is straightforward: prepare the soup, place the blender correctly, blend carefully, and adjust the texture. Taking a few extra seconds during each step can improve the final result.
Before blending, check that the ingredients are tender. A blender can break food into smaller pieces, but it does not replace cooking. Hard vegetables or undercooked ingredients may leave the soup grainy or uneven.
Source: www.youtube.com > Home & Property Services
Step 1: Prepare the soup
Cook vegetables, meat, beans, or other ingredients until they reach the softness needed for blending.
Step 2: Position the blender
Place the blade guard completely into the soup before turning the appliance on.
Step 3: Blend slowly
Use short pulses and move the blender around the pot to reach different areas.
Step 4: Check the texture
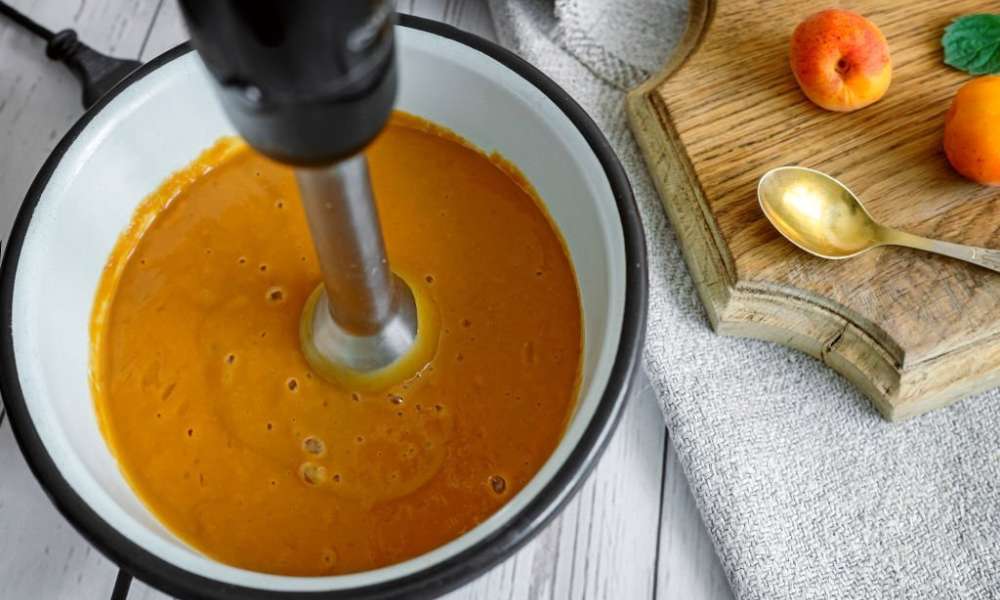
Stop blending when the soup reaches the smoothness you prefer.
How To Blend Without Making A Mess
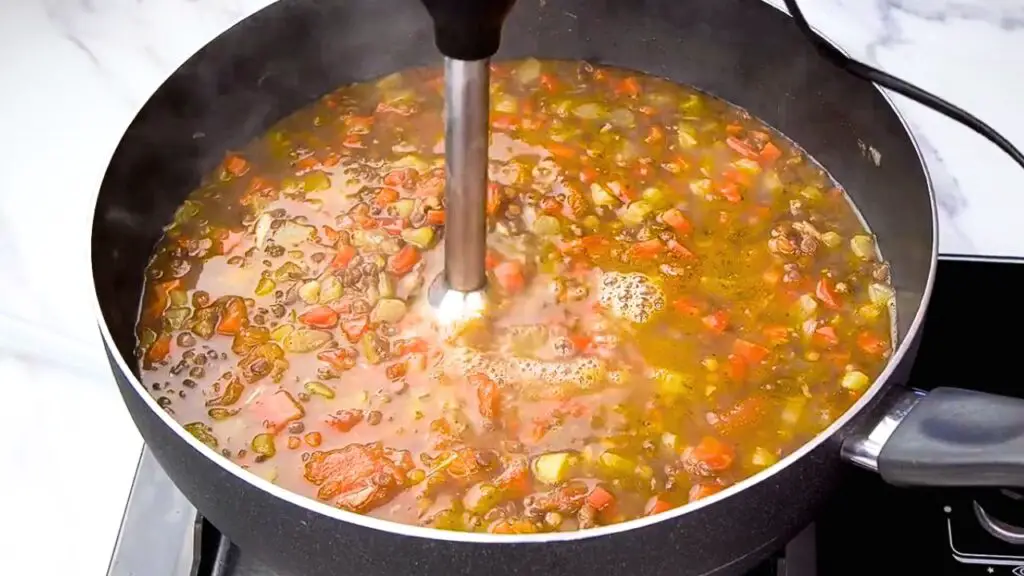
The safest technique is to keep the blade head covered by liquid while blending. Moving the blender above the surface can pull air into the soup and create splashes. A slow up-and-down motion can help mix thicker areas without lifting the blade too high.
Use a deep pot
A taller cooking pot helps contain movement and reduces splatter.
Blend in small areas
Move through the pot instead of forcing the blender to process everything at once.
How Long Should You Blend Soup With An Immersion Blender
Blending time depends on the ingredients and the texture you want. A smooth vegetable soup may need only a few minutes, while a thicker soup with beans or fibrous vegetables may need more attention.
There is no universal blending time because ingredient size, cooking softness, blender design, and personal preference all change the result. The best method is to blend gradually and check the texture often.
Source: foodhow.com
Chunky soup
Blend briefly and leave some pieces intact for more texture.
Creamy soup
Continue blending until visible chunks disappear and the texture becomes even.
Very smooth soup
Blend thoroughly, then strain if a completely refined texture is needed.
How To Fix Soup That Is Too Thick Or Too Thin
A blended soup can change thickness because the blender breaks down ingredients and releases starches or fibers. If the soup becomes too thick, add warm broth, water, or another suitable liquid slowly. If it becomes too thin, simmering can reduce excess liquid.
Too thick
Add liquid in small amounts and blend again until the consistency improves.
Too thin
Cook uncovered for a short time to allow some liquid to evaporate.
Safety Tips When Using An Immersion Blender In Hot Soup
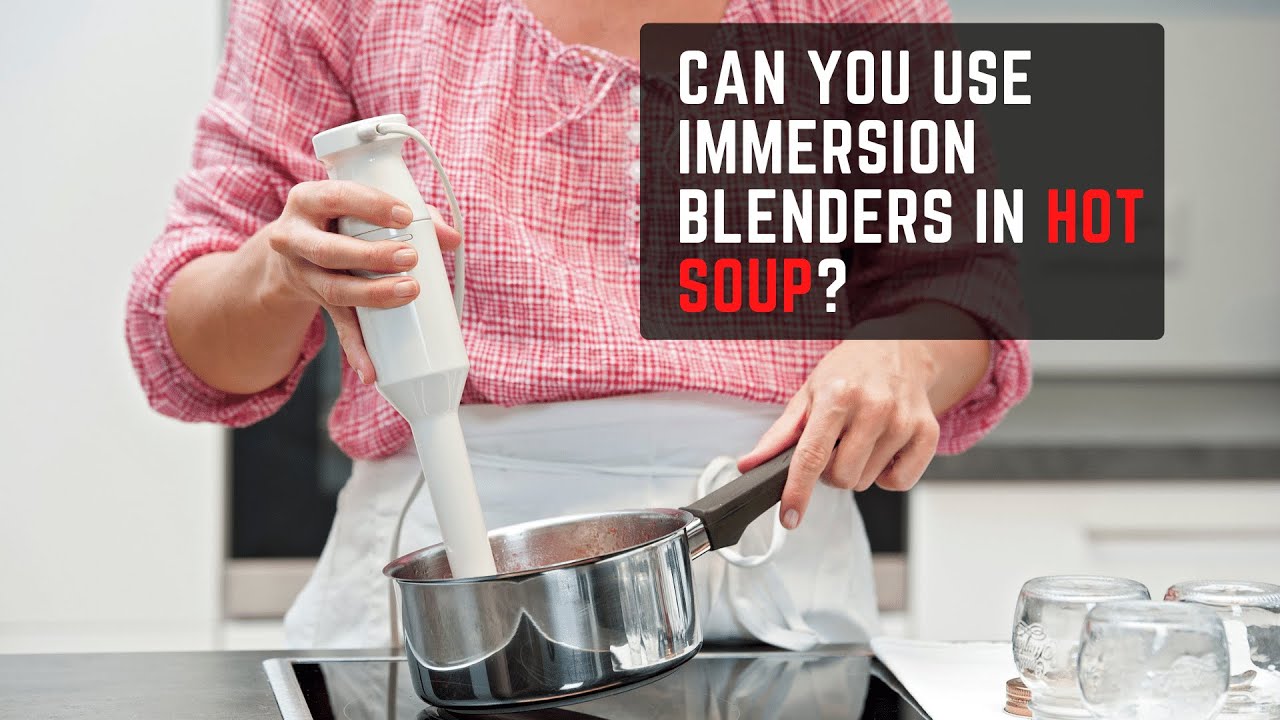
Hot soup needs extra care because the moving blade can push liquid upward. Burns from hot food splashes are a real kitchen risk, so technique matters more than speed.
Always follow the instructions provided with your specific immersion blender because models differ in design, recommended use, and operating limits. Some appliances may have restrictions on very hot liquids or continuous operation.
Source: storage.googleapis.com
Avoid lifting the blade while running
Keeping the blade submerged helps reduce splashing.
Protect your hands
Use careful movements and avoid touching hot soup near the blade area.
Let very hot soup settle briefly
A short pause after cooking can reduce aggressive bubbling before blending.
Common Mistakes To Avoid
Many blending problems come from technique rather than the appliance itself. Using the wrong motion, blending ingredients before they soften, or filling a pot too high can make the process harder.
Starting above the soup
This can create splashes and uneven blending.
Ignoring ingredient size
Large pieces may take longer to break down.
Choosing The Right Soup Texture With An Immersion Blender
The best soup texture depends on the recipe and personal preference. Some soups are meant to be silky, while others taste better with small pieces of vegetables or beans remaining.
An immersion blender gives control because you can stop at any point. This makes it useful for households where different people prefer different textures.
Source: storage.googleapis.com
Smooth soups
Blend longer for a creamy texture often used in pureed vegetable soups.
Rustic soups
Blend part of the pot while leaving some ingredients whole.
Cleaning And Maintaining Your Immersion Blender
Cleaning the blender after soup preparation helps keep the blade assembly working properly. Most models require careful washing of the removable blending shaft according to the manufacturer’s instructions.
Do not ignore food trapped around the blade guard. Small pieces can dry and become harder to remove later.
Clean soon after use
Fresh food residue is usually easier to remove than dried residue.
Frequently Asked Questions
Q
Can you use an immersion blender in hot soup?
Yes, many immersion blenders are designed for blending soup directly in a pot, but you should follow the instructions for your specific model. Use careful movements to avoid hot splashes.
Q
Why is my soup not smooth after using an immersion blender?
Soup may remain uneven if ingredients are not cooked enough, pieces are too large, or blending time is too short. Continue blending gradually and check the texture as you go.
Q
Can an immersion blender replace a countertop blender for soup?
For many soup recipes, yes. An immersion blender offers convenience because it blends directly in the pot. However, some recipes requiring extremely fine textures may still benefit from a countertop blender.
Q
How do I stop soup from splashing when blending?
Keep the blade fully submerged, use a deep pot, and blend with slow controlled movements instead of quickly lifting the blender.
Q
Can I blend soup before all ingredients are cooked?
Blending does not soften raw ingredients. Cook ingredients until tender first so the blender can create a smoother texture.
✦ Wrapping Up
Conclusion
Using an immersion blender for soup is a simple process once you understand the right technique. Cook ingredients until soft, keep the blade under the surface, blend slowly, and adjust the texture as needed.
This tool can make soup preparation easier by reducing transfers and cleanup. With safe handling and a little practice, you can create smooth, creamy, or textured soups directly in your cooking pot.
💡 Key Takeaway
Start with a small blending area, check the texture often, and make slow adjustments instead of blending too quickly.